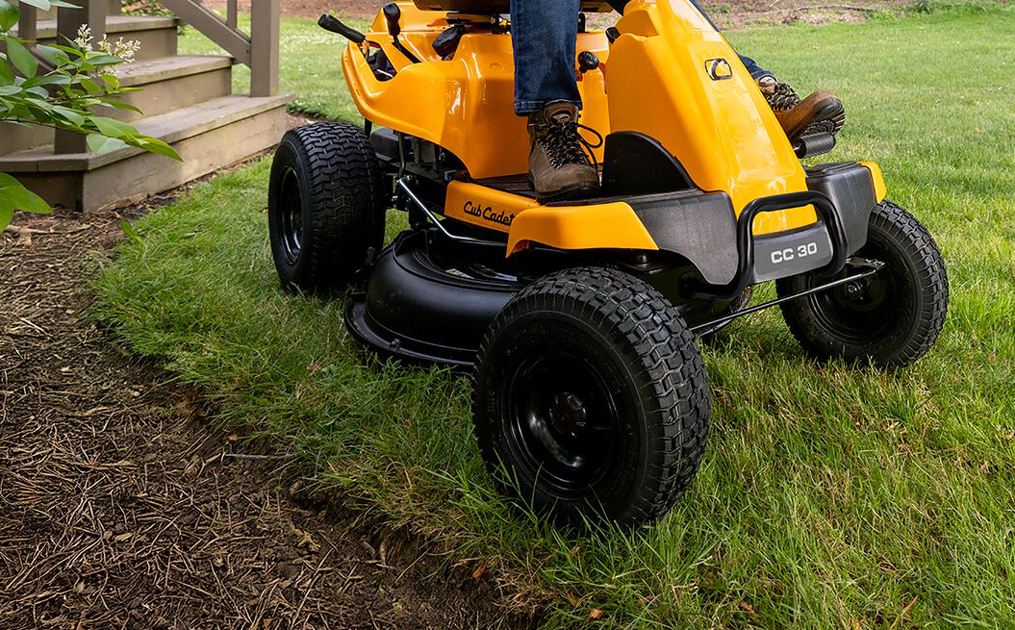
How to Install a Mulch Kit on Your Riding Mower

How to Install a Mulch Kit on Your Riding Mower
These instructions will guide you through installing a mulch kit on your Cub Cadet riding mower. While the steps are generally similar, always refer to your model’s operator's manual for specific directions and safety information.
Step 1: Safety First
Make sure the mower is turned off, the key is removed, and the spark plug wire is disconnected. Wear gloves and safety glasses before beginning installation.
Step 2: Remove the Cutting Deck
Carefully lower the deck and disconnect it from the mower frame following your manual’s instructions. Place the deck on a flat, clean surface for easy access.
Step 3: Replace or Add Mulching Blades
Swap out your standard blades with the mulching blades included in the kit. These blades are designed to circulate clippings for finer cuts. Torque bolts to manufacturer specs.
🛡 Step 4: Install the Mulch Plug
The mulch plug blocks the discharge chute so clippings stay under the deck and are re-cut. Align it with the opening and secure it with the provided fasteners or clips.
Step 5: Reattach the Cutting Deck
Once the kit is installed, reattach the deck to the mower and ensure all linkages and belts are connected properly. Reconnect the spark plug wire and test the function.
Always Check Your Manual
The steps above provide a general guideline. For exact installation instructions and part numbers, refer to the Operator’s Manual for your mower model.
Need a Mulch Kit?
Explore compatible mulch kits and accessories for your model at Syn Lawn.
